Unnamed
eerer

eerer…
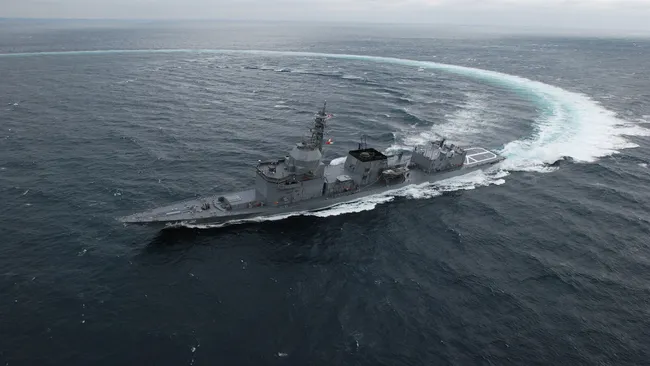
Japan has deployed a system that fires laser beams with 100 kilowatts of energy — powerful enough to…
撰写内容中………
eerer…
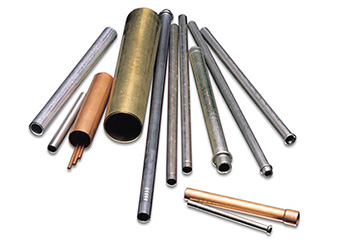
摘 要:钢管管路的制造和安装过程中去毛刺是一道非常重要的工序,它是产品整体质量和是否合格的关键银锁所在,为了满足钢管批量加工的需求,本文设计开发了一种电动钢管去毛刺机,国内专利号为:ZL2…
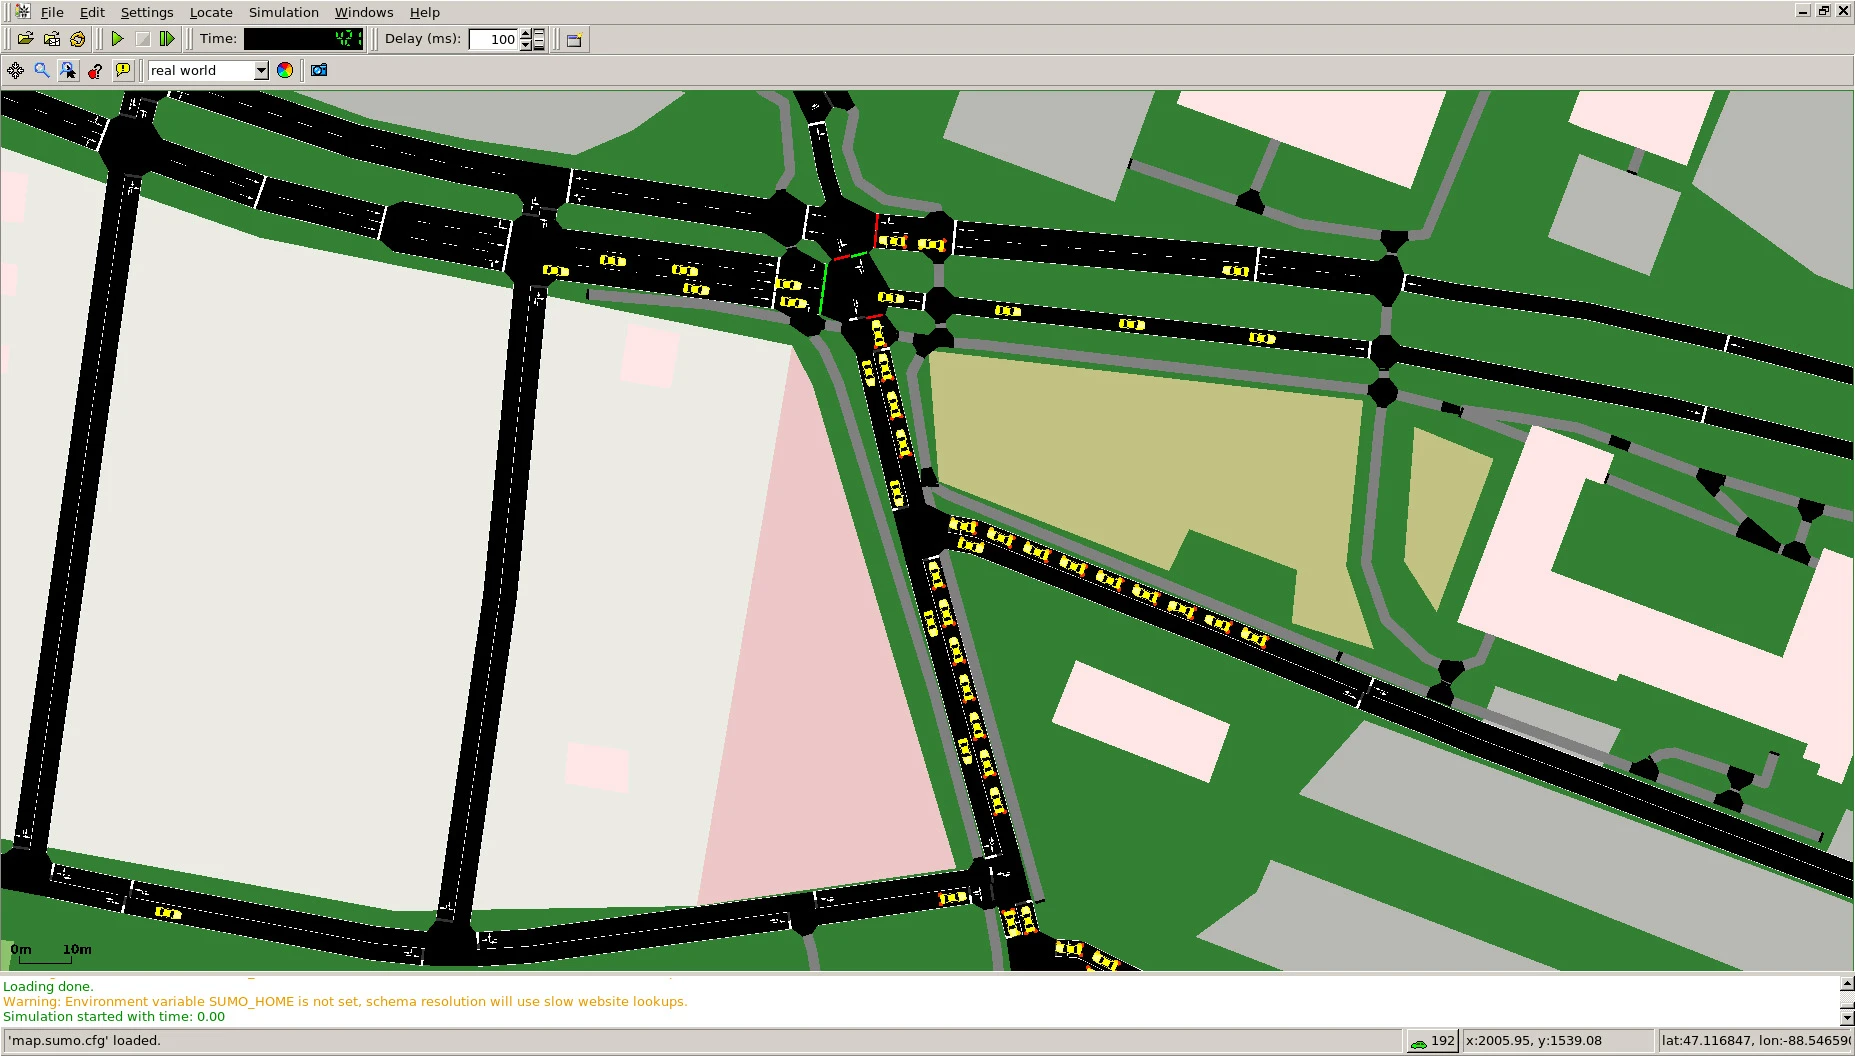
车联网仿真测试的研究与分析 本文论述车联网行业技术发展的趋势,介绍了车联网仿真测试的方法和内容,对车联网仿真工具和仿真建模进行了详细研究,并通过仿真案例说明测试的意义。随着互联网技术的发展…
