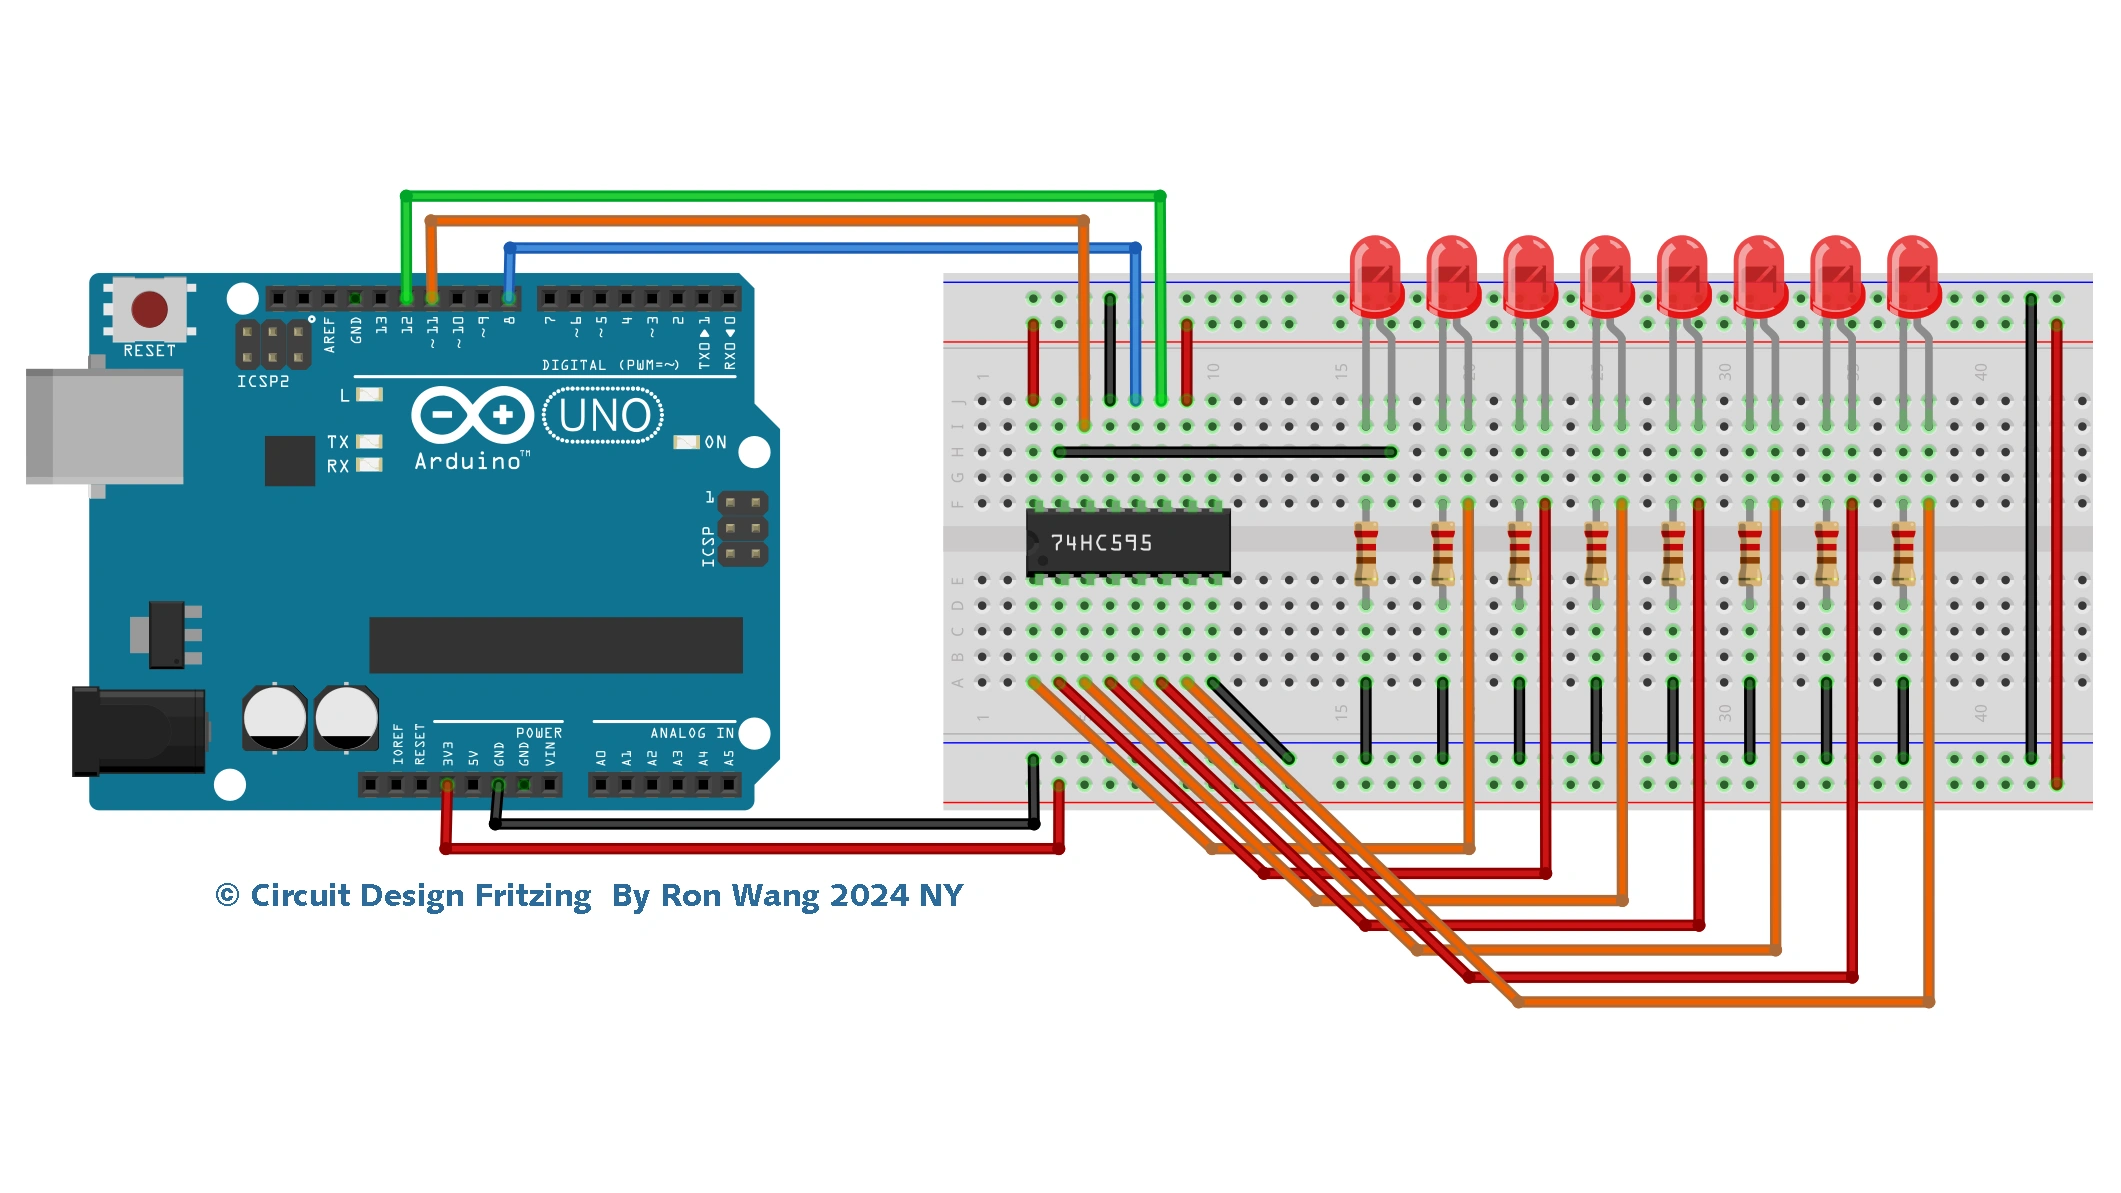
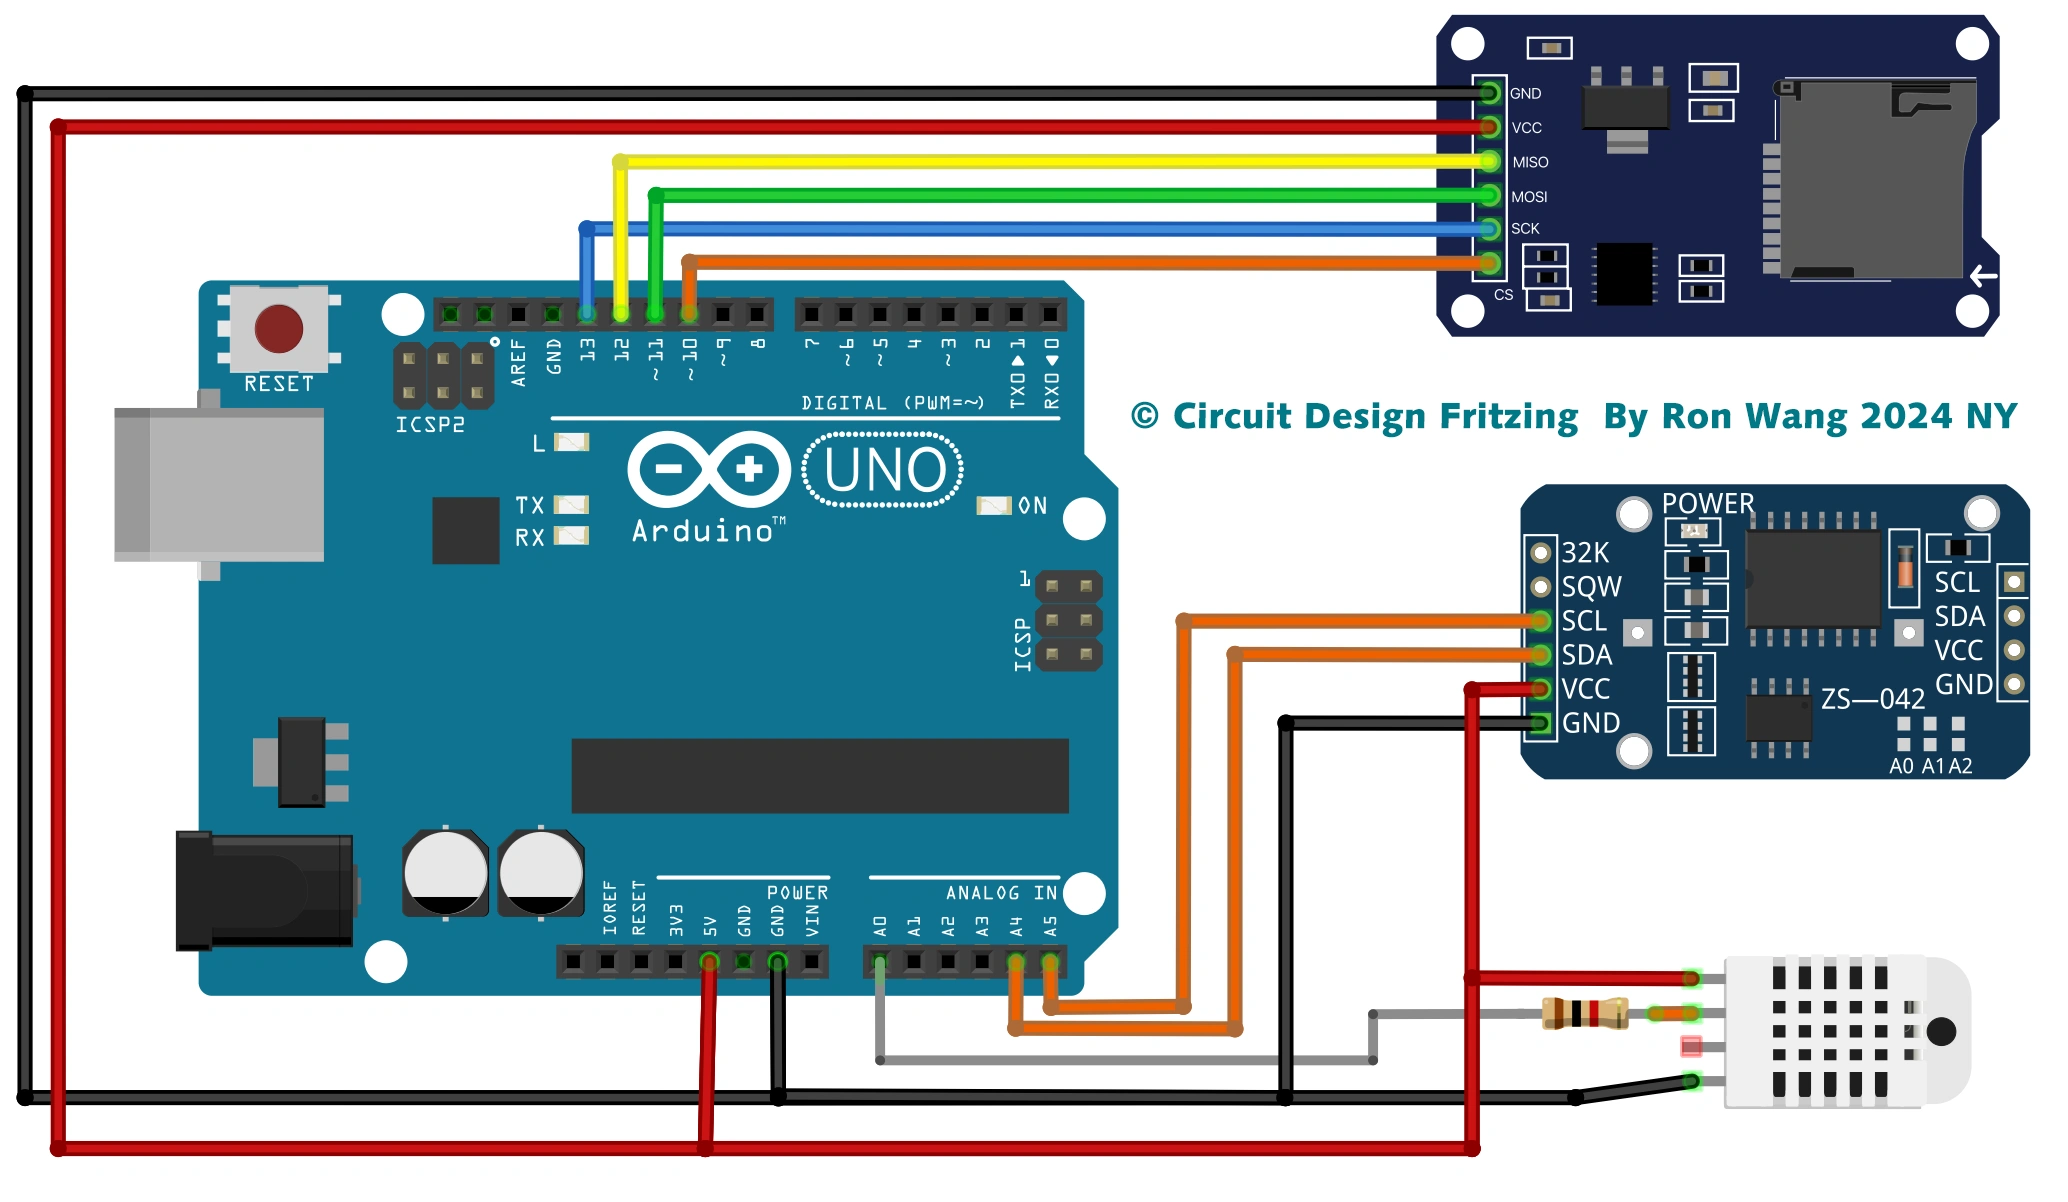
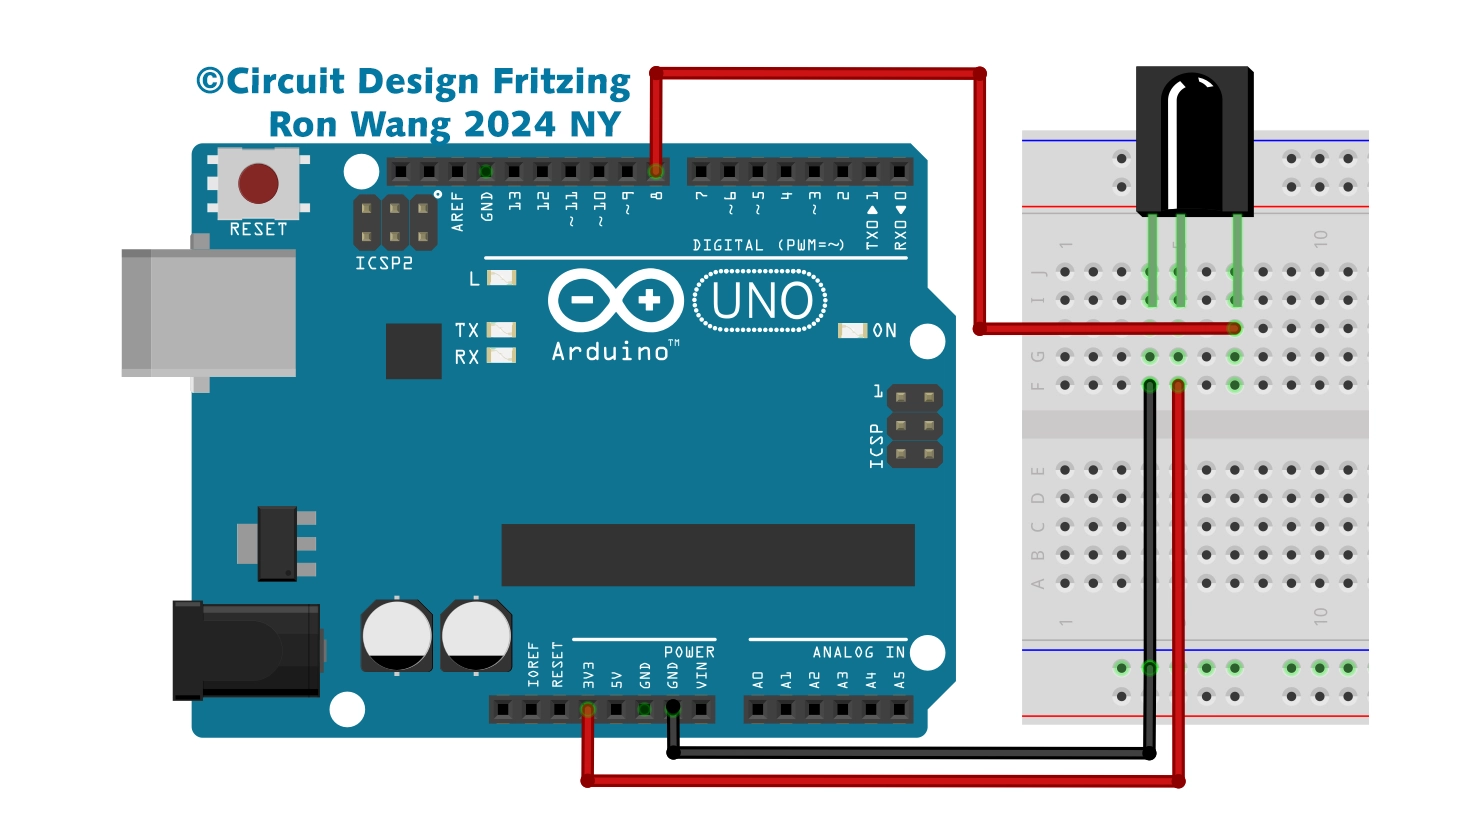
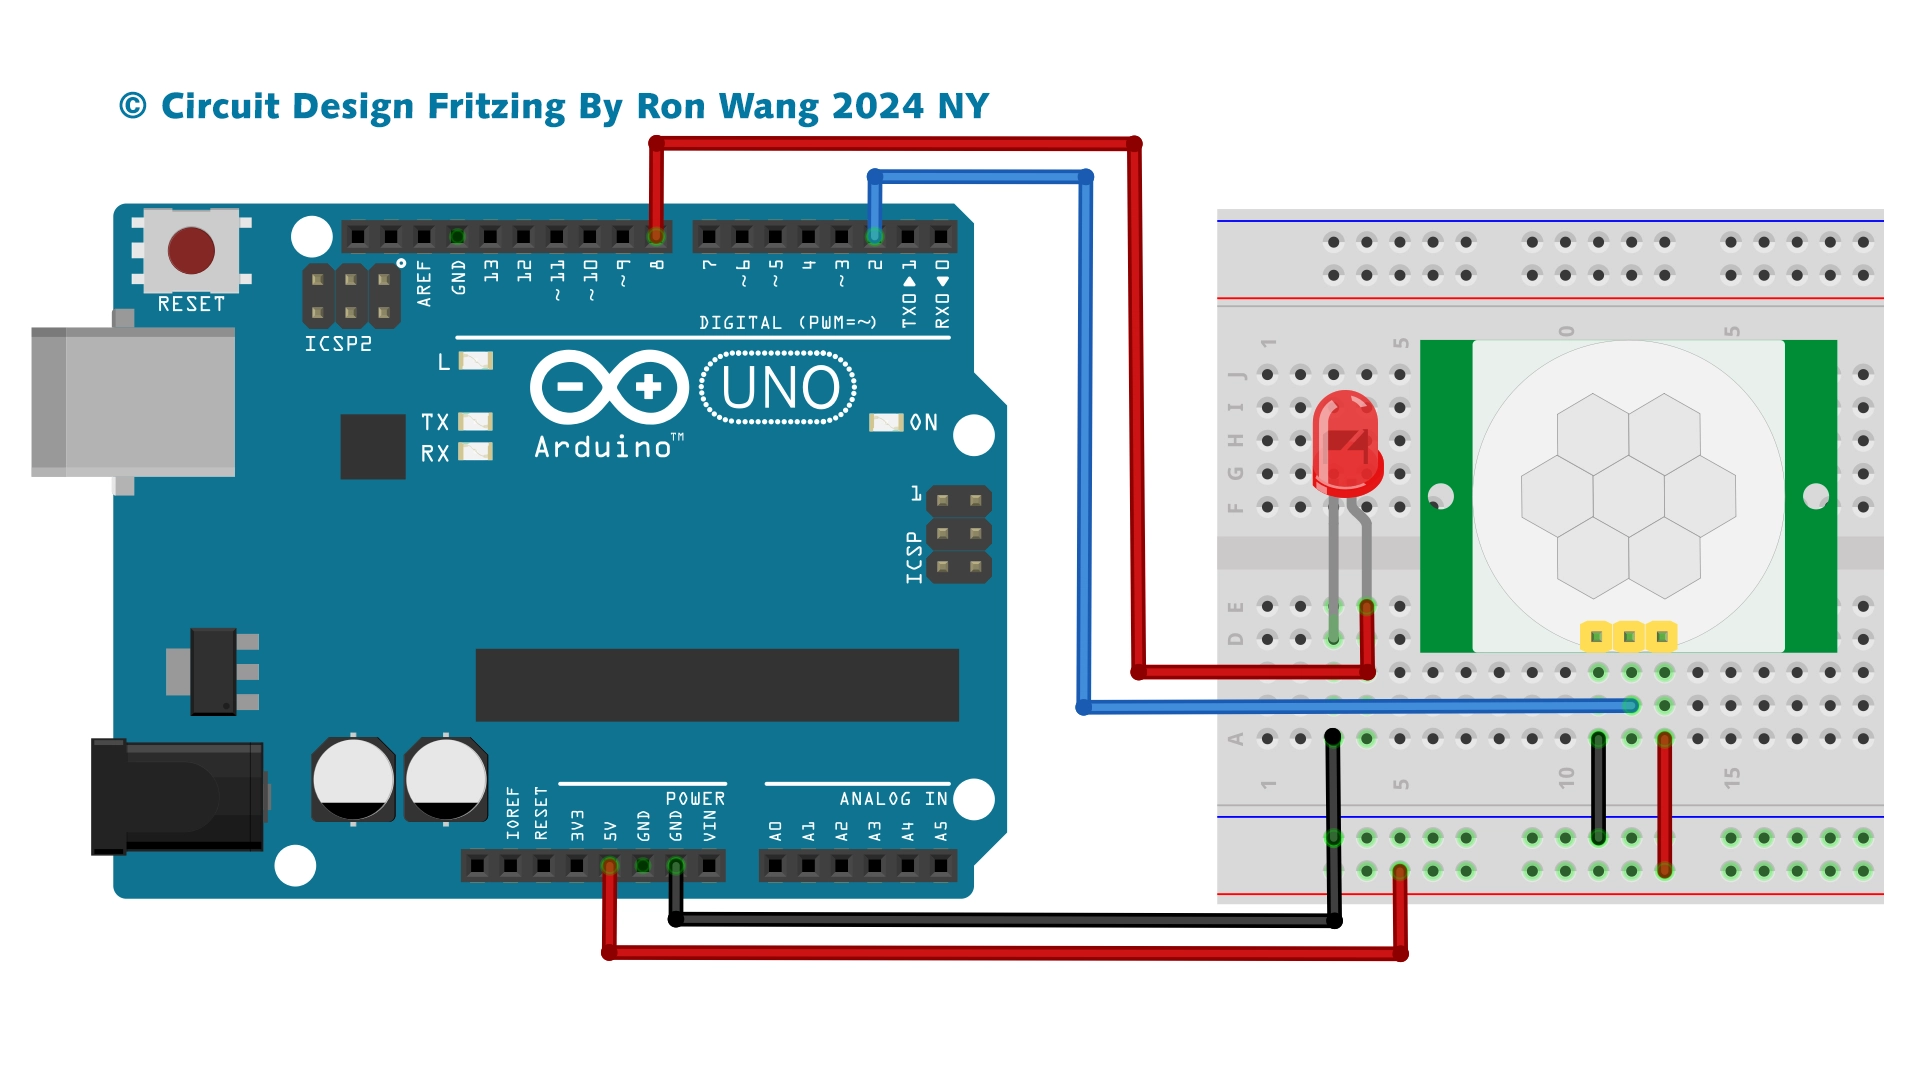
CODE | LCD Temperature Display - Arduino Project 024
This project is a simple demonstration of using an LCD to present useful information to the user—in this case, the temperature from an DTH11 humidity and temperature sensor.
Project 24 Liquid Crystal Temperature Displays


/* Coding Ron Wang
   Nov.11th 2024
   Autaba support for coding hardware
   Project 24  LCD Temperature Display
 */
// Adding LCD and DHT libraries

#include <LiquidCrystal.h>
#include  <SimpleDHT.h>

//Declaring digital pin no 6 as the dht11 data pin

int  pinDHT11 = 11;
SimpleDHT11 dht11;

//Declaring the lcd pins

const  int rs = 9, en = 8, d4 = 5, d5 = 4, d6 = 3, d7 = 2;
LiquidCrystal lcd(rs, en,  d4, d5, d6, d7);
void setup() {

 Serial.begin(9600); // Choose 9600 at the  port screen
 lcd.begin(16, 2);  //Telling our LCD to start up

}
void loop() {
  /*These  serial codes are for getting readings on the port screen as well as
    the LCD display, since they'll offer us a more detailed interface
  */

  Serial.println("=================================");
  Serial.println("DHT11 readings...");


  byte temperature = 0;
  byte humidity = 0;
  int err = SimpleDHTErrSuccess;

  //This bit will tell our Arduino what to do if there is some sort of an error at getting readings  from our sensor

  if ((err = dht11.read(pinDHT11, &temperature, &humidity, NULL))  != SimpleDHTErrSuccess) {
    Serial.print("No reading , err="); Serial.println(err);delay(1000);
    return;
  }

  Serial.print("Readings: ");
  Serial.print((int)temperature);  Serial.print(" Celcius, ");
  Serial.print((int)humidity); Serial.println("  %");

  //Telling our lcd to refresh itself every 0.75 seconds
  lcd.clear();

  //Choosing the first line and row
  lcd.setCursor(0,0);
  //Typing Temp:  to the first line starting from the first row
  lcd.print("Temp: ");
  //Typing  the temperature readings after "Temp: "
  lcd.print((int)temperature);
  //Choosing the second line and first row
  lcd.setCursor(0,1);
  //Typing  Humidity(%): to the second line starting from the first row
  lcd.print("Humidity(%):  ");
  //Typing the humidity readings after "Humidity(%): "
  lcd.print((int)humidity);

  delay(750);
}