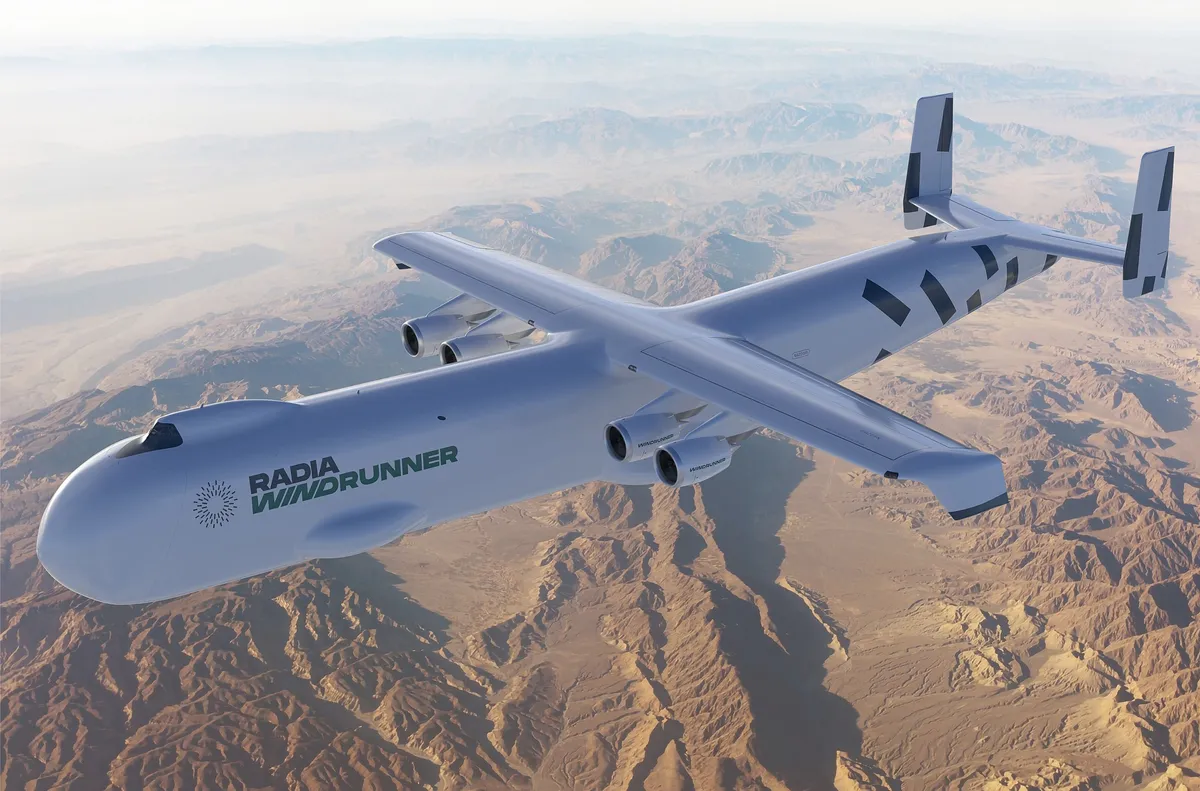
当前位置:首页 > 科学研究 > 电子编程 > 正文内容

Arduino Project 004 - LED Interactive Traffic Lights

RonWang1年前 (2024-06-11)电子编程379

This time you are going to extend the previous project to include a set of pedestrian lights and a pedestrian push button to request to cross the road. The Arduino will react when the button is pressed by changing the state of the lights to make the cars stop and allow the pedestrian to cross safely.

This is the first time you are going to interact with the Arduino and cause it to do something when you change the state of a button that the Arduino is watching. In this project, you will also learn how to create your own functions in code.

From now on, I will no longer list the breadboard and jumper wires in the parts required list. Note that you will always need these basic components.

项目4 Project 4 -Interactive Traffic Lights

04 Interactive Traffic Light Circuit

04 Interactive Traffic Light Schematic

/* Coding Ron Wang
   June 11st 2024
   Autaba support for coding hardwarec
 */
// Project 4 - Interactive LED Traffic Lights

int carRed = 10; // assign the car lights
int carYellow = 9;
int carGreen = 8;
int pedRed = 7; // assign the pedestrian lights
int pedGreen = 6;
int button = 2; // button pin
int crossTime = 5000; // time alloyoud to cross
unsigned long changeTime; // time since button pressed
void setup() {
 pinMode(carRed, OUTPUT);
 pinMode(carYellow, OUTPUT);
 pinMode(carGreen, OUTPUT);
 pinMode(pedRed, OUTPUT);
 pinMode(pedGreen, OUTPUT);
 pinMode(button, INPUT); // button on pin 2
 // turn on the green light
 digitalWrite(carGreen, HIGH);
 digitalWrite(pedRed, HIGH);
}
void loop() {
 int state = digitalRead(button);
 /* check if button is pressed and it is over 5 seconds since last button press */
 if (state == HIGH && (millis() - changeTime) > 5000) {
 // Call the function to change the lights
 changeLights();
 }
}
void changeLights() {
 digitalWrite(carGreen, LOW); // green off
 digitalWrite(carYellow, HIGH); // yellow on
 delay(2000); // wait 2 seconds
 digitalWrite(carYellow, LOW); // yellow off
 digitalWrite(carRed, HIGH); // red on
 delay(1000); // wait 1 second till its safe
 digitalWrite(pedRed, LOW); // ped red off
 digitalWrite(pedGreen, HIGH); // ped green on
 delay(crossTime); // wait for preset time period
 // flash the ped green
 for (int x=0; x<10; x++) {
 digitalWrite(pedGreen, HIGH);
 delay(250);
 digitalWrite(pedGreen, LOW);
 delay(250);
 }
 // turn ped red on
 digitalWrite(pedRed, HIGH);
 delay(500);
 digitalWrite(carYellow, HIGH); // yellow on
 digitalWrite(carRed, LOW); // red off
 delay(1000);
 digitalWrite(carGreen, HIGH);
 digitalWrite(carYellow, LOW); // yellow off
 // record the time since last change of lights
 changeTime = millis();
 // then return to the main program loop
}

版权声明:本文为原创文章,版权归donstudio所有,欢迎分享本文,转载请保留出处!

本文链接:http://www.donstudio.cn/?id=254

标签: Arduino

相关文章

Arduino Project 023C - Liquid Crystal Displays - Serial to Display

Arduino Project 023C - Liquid Crystal Displays - Serial to Display

Before wiring the LCD screen to your Arduino board we suggest to solder a pin header strip to the 14...

Arduino Project 017 - Shift Register 8-Bit Binary Counter

Arduino Project 017 - Shift Register 8-Bit Binary Counter

In this project, you’re going to use additional ICs (Integrated Circuits) in the form of shift regis...

Arduino Project 031 - Digital Pressure Sensor

Arduino Project 031 - Digital Pressure Sensor

Arduino Programming Basic -- Pressure SensorsProject 31 – Digital Pressure Sensor// Ardunio&nbs...

Arduino Project 001 - LED Blink

Arduino Project 001 - LED Blink

Arduino 电子编程--灯项目及控制,主要使用Arduino编程控制LED灯,实现基本控制Project 1 LED闪烁,基本的应用Project 3和4红绿灯项目项目1 Project...

Arduino Project 007 - Pulsating Lamp

Arduino Project 007 - Pulsating Lamp

You are now going try a more advanced method of controlling LEDs. So far, you have simply turned the...

Arduino Project 030 - Line Following Robot

Arduino Project 030 - Line Following Robot

Project 30 Line Following RobotUse L298P Driver Line Following Robot Line o...